Sourcing the Wood
We offer many different wood types from all over the world. In the next few photos, we are going to show you what it looks like when we receive it. This is a lumber yard in Minas Gerais, Brazil. We went down to Brazil for a vacation and decided to bring back some Paraju.

Wood from the Austrian Alps
This wood was brought back from a skiing trip to the Austrian Alps. To read more about this story visit our personal stories page.

Kentucky Bourbon Barrel
Being located in the heart of Bourbon country. It only feels right that we offer bourbon barrel pens. Here is a barrel we received from one of the distilleries.

Preparing the wood
Once we have the wood in our possession, we must cut the large pieces into small blocks. Here are barrel staves being lowered into our shop after months of drying in the upstairs loft.

Making Blanks
Here we are cutting staves into what we call “blanks.” Each pen only needs approximately .75 inch width and 5 inch length.

Blanks
Here are smaller bourbon barrel blanks ready for the next step.

Drilling
In this step, we drill a hole into each pen blank. We must drill perfectly down the center or else the wood will split and become unusable.

Glue Time!
After all of our blanks for the day are drilled. We then use intense glue called “epoxy” to insert a brass tube within the wood. We let all these glued up blanks sit overnight to ensure the glue is dry. If not glued properly then the wood and brass tube will separate in the coming steps causing a dysfunctional pen.

Fully ready pen blanks!
Here is a close up on the brass tube. After the tube is glued we trim the wood. This means we make the brass tube even with the wood. See the circles in the wood? Now the wood is ready to turn!

Turning Time!
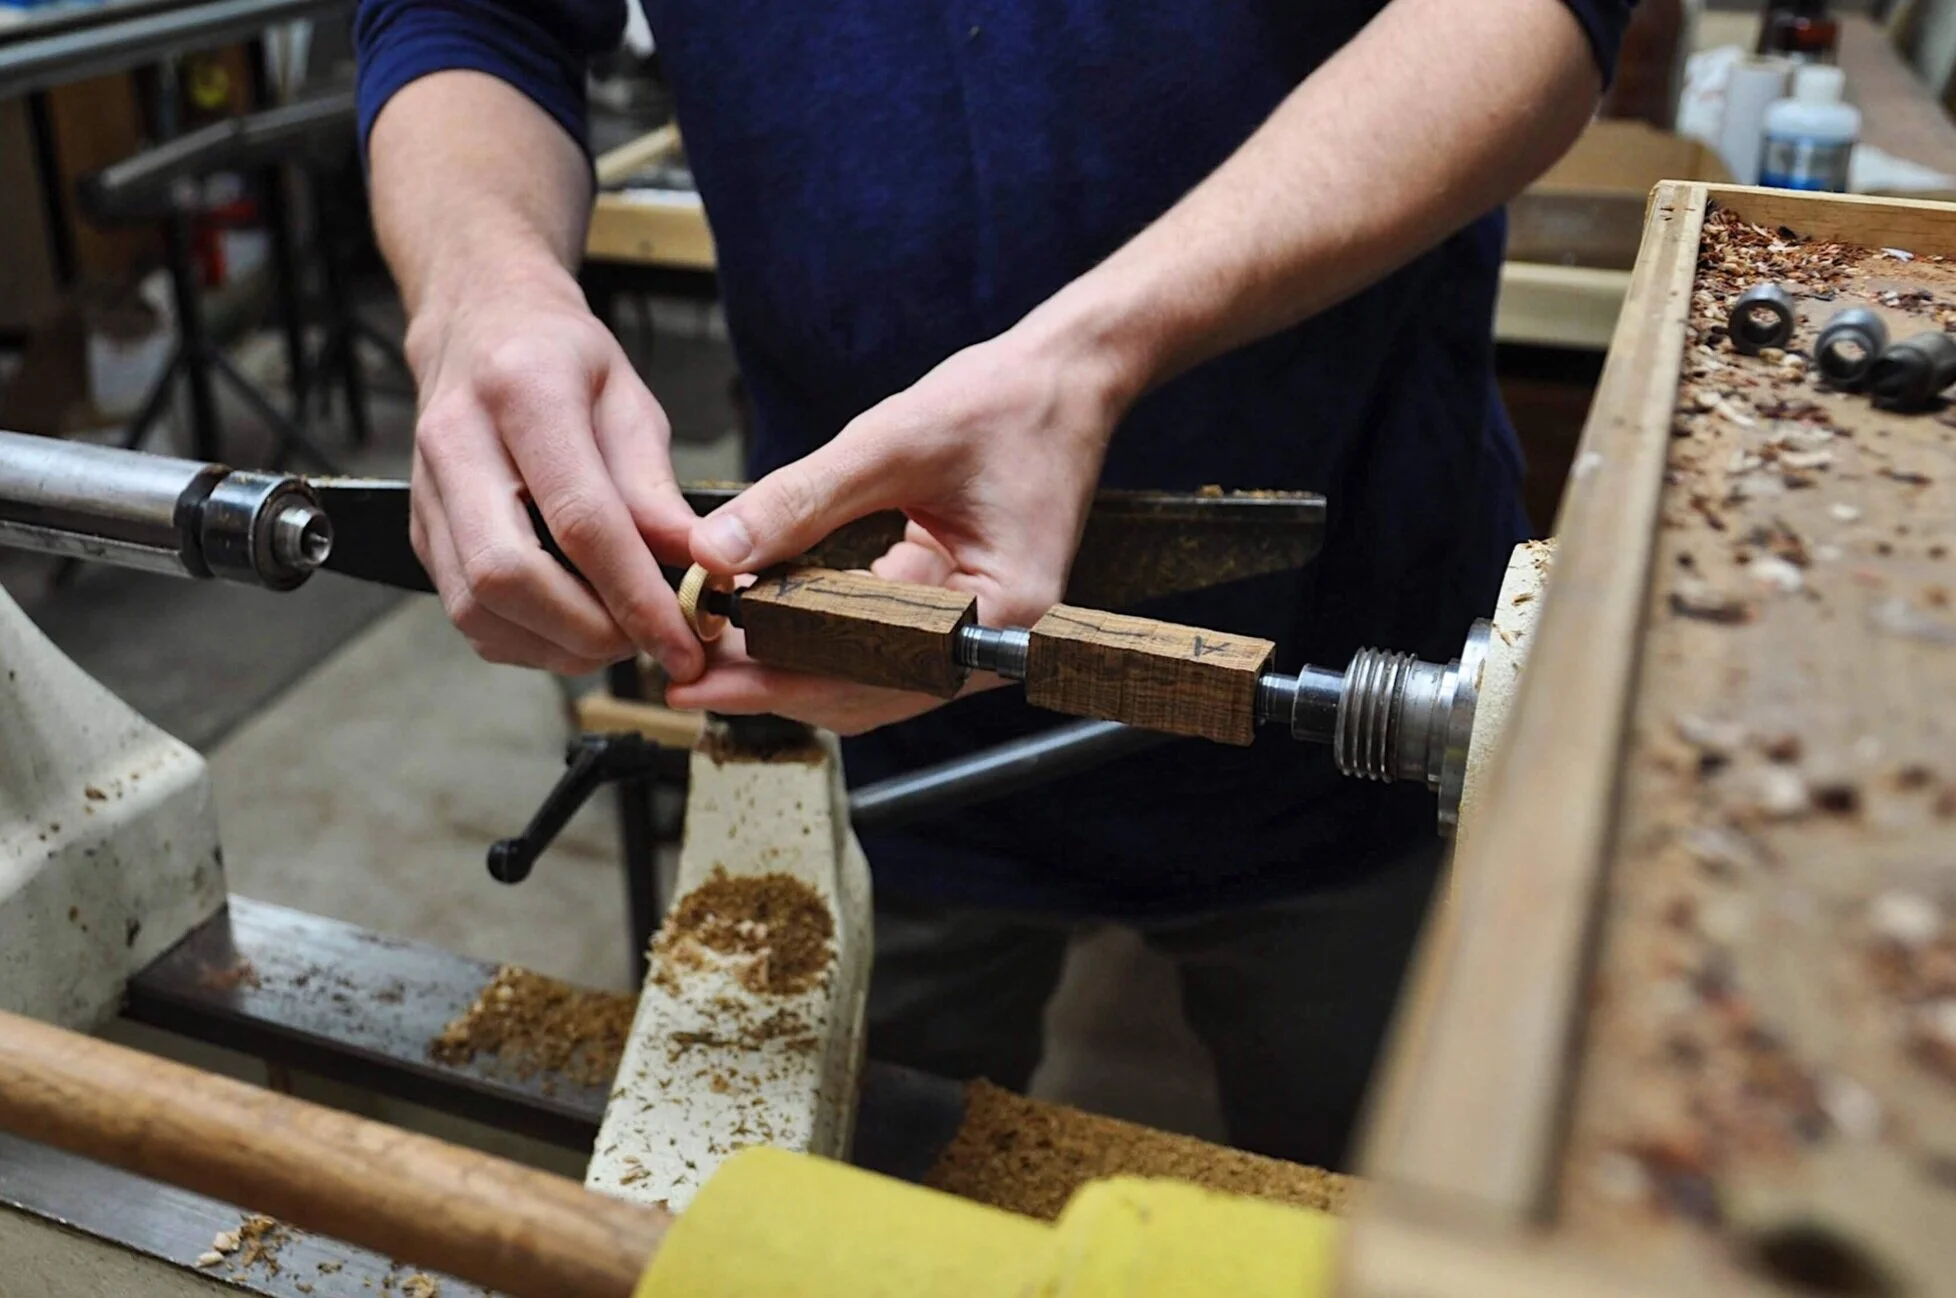
After the blank is ready to go. We assemble it onto our lathe. This is a machine that will spin the wood at 1800 rpms for us to turn it down from a block into a cylinder.

Shaving time!
This is the fun part of pen making! Here is where we use a sharpened iron skew to turn a block of wood into a cylinder. It takes many months of practice to get to a point where you aren’t constantly messing up and destroying the wood.

Agility is everything
Here we use an agile tool to turn the wood exactly flush with the metal pieces on either side of it. This will ensure the pen is the correct size.

Finishing the Pen
After getting the pen even with the metal bushings. We sand it to make it super smooth. After sanding we apply the finish. Believe it or not, most all of our pens are finished with super glue. Super glue leaves a pen looking shiny and adds durability to it! Here is what a finished pen tube looks like. Ready for assembly!

Assembly!
Here we use our push press to assemble the pen. We take the finished pen barrel and push the pieces into it for a snug fit. After many steps to get here this is the final step. This step may appear simple…however, countless pens have been ruined in assembly. Attention to detail!

From death to life!
A pen blank vs. the finished product. Each pen is handcrafted and every step is equally important! The pen in this photo is from the Austrian Alp wood.


